
Art Journal Background Tutorial
Posted by scrappermimi on Jan 1st 1970
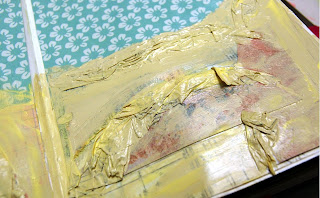
I wanted to share with you this tutorial on how to create this background. It is amazing what a little bit of paint, paper, and glue and create. This is the beginning of our background...first use a base of Gesso to prep the original paper. Then using adhesive and Modge Podge glue down the pattern paper. I also added some wads of tissue paper to create extra texture. I wanted the image to looks like rolling hills of sand.


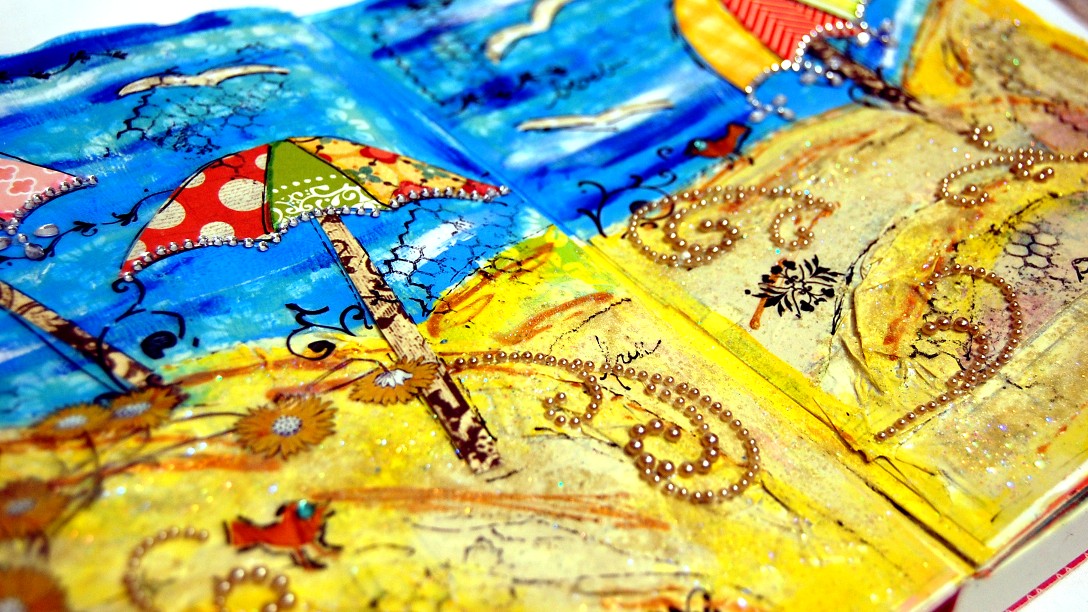
The Finesse Swirls in LeCreme Pearls were perfect to create the illusion of rolling hills in the sand. A few of the Blue Green Rhinestones Baby Bling added that little extra "something special" to these pages.


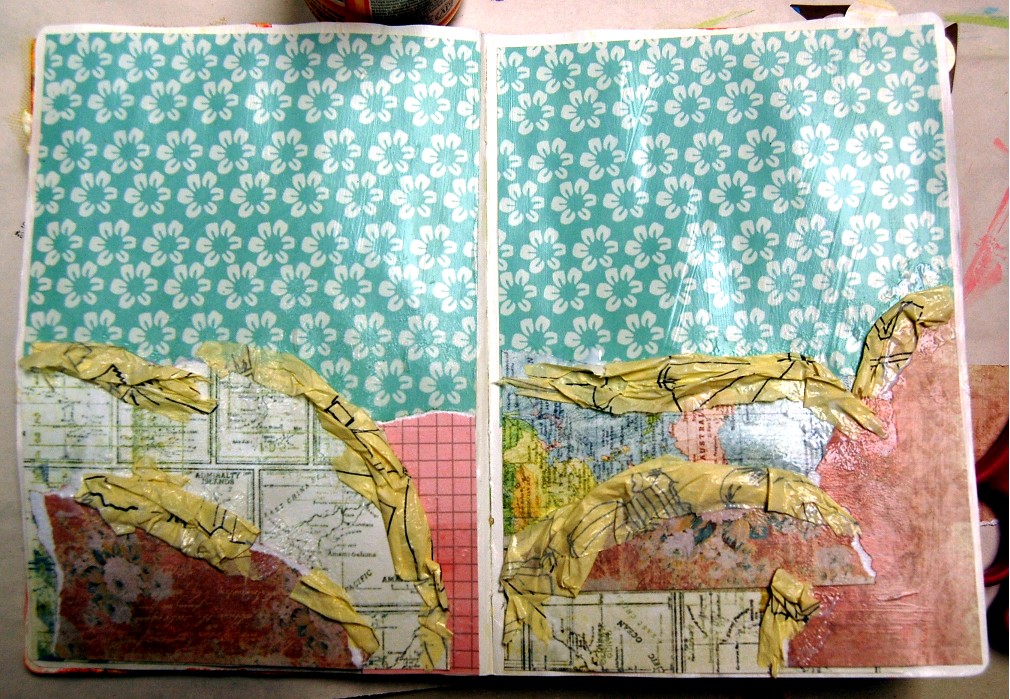
Now comes paint. I added several layers of paint in complementing colors to create depth. I rubbed it on with my fingers and really got it in the nooks.

I added even more paint such as these lines of gold metallic paint. I did the same to create the sky, using various colors of blue and a few streaks of white.

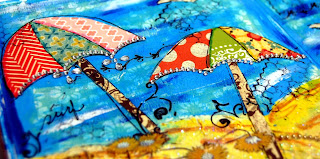
Next comes the colorful part! To create the the umbrellas I dug into my scraps of paper and paper pieced the umbrellas. I then cut out birds and used a black pen to define the edges.
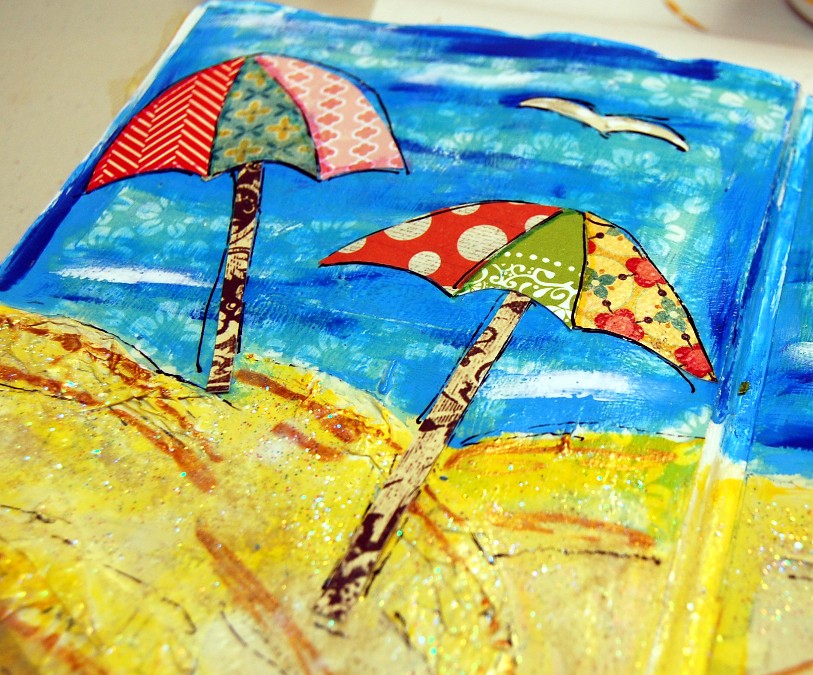
Next up...blinging it up with tons of Want2Scrap goodies! I used the Fancy Wave Bling Borders and added them to the bottoms of the umbrellas.

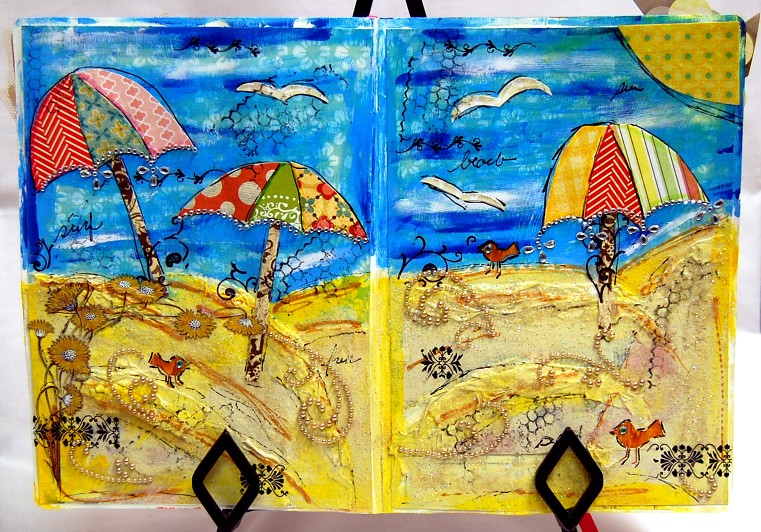
And here is our final project!
I am hoping you are now feeling creative and want to create a few designs of your own.
Want2Scrap Products:
Cross Promotional Products:
Other Products:
Pattern Paper- Studio Calico, Pink Paislee, Lily Bee Designs, My Minds Eye, Websters Pages
Stamps- Unity Designs (Christy Tomlinson SHE ART Line)
Pens- Scarlet Lime, Faber-Castell
Paint- Liquitex, Lumiere Light Body Metallic Acrylic
Modge Podge (Matte and Sparkel)- Plaid
Glitter Sand- Magic Scraps
Rub-ons- Fancy Pants, Black River Designs, Studio Calico
Gesso- Liquitex